Plants
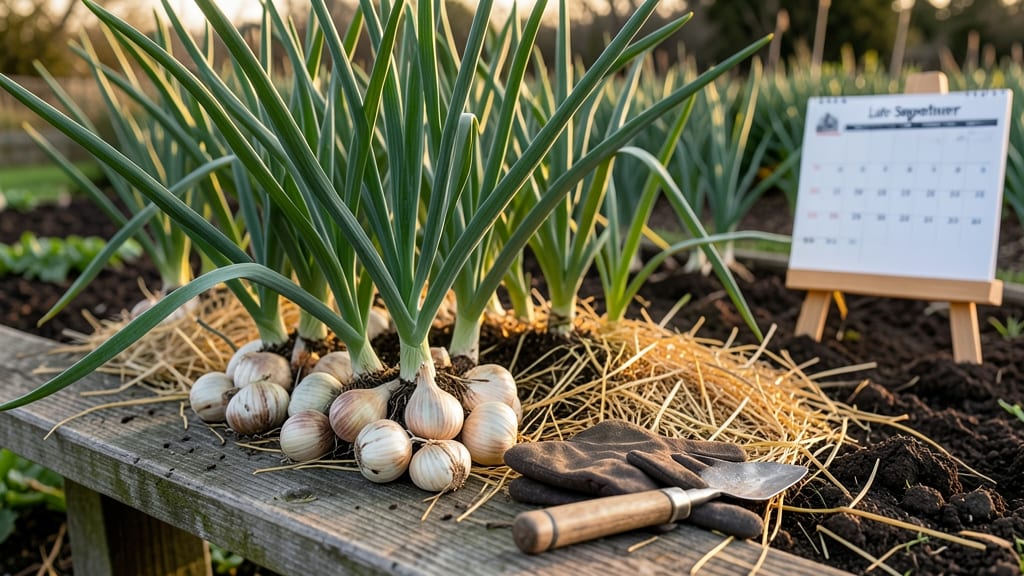
Plant garlic in Zone 4 about 4-6 weeks before the ground freezes—typically between mid-October and early November—to ensure hardneck bulbs form properly.
Planting garlic at the wrong time in Zone 4 can mean the difference between a bumper crop of hardneck bulbs and wasted effort—but timing it perfectly unlocks flavor-packed harvests.
Here’s the key: soil temperatures should dip below 50°F before planting, and you want the cloves to establish roots before winter sets in. Too early, and they’ll bolt; too late, and they’ll rot.
In this guide, I’ll break down the exact weeks to plant, how to prep your soil, and which hardneck varieties thrive best in cold climates—so you can grow garlic that’s stronger, sweeter, and more reliable than ever.
Optimal planting windows for hardneck garlic in Zone 4
Zone 4 gardeners know timing is everything when planting hardneck garlic. The 4-6 week rule before ground freezes is your golden window—but calculating exact dates requires understanding regional frost patterns.
Northern Zone 4 areas (like Minnesota or Upstate New York) freeze earlier than southern pockets (like Northern Illinois or Pennsylvania), creating a 3-4 week variation in ideal planting dates.
For hardneck varieties to form plump bulbs, they need 60-70 days of cold exposure below 40°F before spring growth begins. Plant too early, and your garlic may sprout prematurely; too late, and bulbs won’t mature fully.
The sweet spot? Mid-October to early November for most of Zone 4—but let’s break it down by region.
Use your local USDA frost date as your anchor. For example, if your area’s average first frost is October 15, count backward 4-6 weeks to land on September 15-October 1. Pro tip: Check Almanac.com for your city’s historical frost dates—they’re more precise than general Zone 4 averages.
Hardneck garlic like 'Music' or 'German White' thrives when planted in cool but workable soil. Aim for 40-50°F soil temperatures—warmer soil speeds up sprouting, while colder soil delays root establishment.
A soil thermometer ($10 at garden centers) takes the guesswork out of timing. If your soil stays above 60°F past October 1, wait until temperatures drop naturally.
For northern Zone 4, don’t wait past October 1—soil freezes quickly after that. In southern Zone 4, you have until November 1 to plant, but avoid late November entirely.
Garlic planted after November 15 rarely matures properly before spring’s vernalization period (the cold snap needed to trigger bulb formation).
Adjust for microclimates too. Gardens near large bodies of water or urban heat islands stay warmer longer—plant 1-2 weeks earlier than your region’s average. Conversely, high-elevation areas freeze faster; plant 1-2 weeks later to avoid early frost damage to young cloves.
Always plant 2-3 weeks before your first hard frost, not the average date.
Mark your calendar for early September—that’s when garlic cloves should be available at nurseries. Order hardneck varieties from seed catalogs if local options are limited. Planting large, firm cloves (not soft or sprouted) gives you the best head start.
Break apart braids only when ready to plant, storing them in a cool, dark place until then.
After planting, mulch heavily with straw or leaves (4-6 inches) to insulate bulbs through winter. This 3-4 inch layer prevents soil heaving during freeze-thaw cycles and keeps roots 5-10°F warmer than ambient air. Remove mulch in early spring (March) to let soil warm for growth.
Remember: Zone 4’s short growing season means garlic needs every advantage. Planting at the optimal window—not just "fall"—sets you up for large, flavorful bulbs by July harvest.
Miss the window, and you’ll either have small, pungent cloves or no harvest at all. Now grab that thermometer and get planting!
Signs your Zone 4 soil is ready for garlic planting
Knowing exactly when your Zone 4 soil is ready for garlic isn’t just about checking a calendar—it’s about reading your garden’s signals. Garlic thrives when planted in cool fall soil that’s warm enough to encourage root growth but cool enough to prevent early sprouting.
In Zone 4, this typically means soil temperatures between 40°F and 50°F at a depth of 4 inches.
Start by testing your soil’s readiness with a simple finger check. Push your finger about 4 inches deep—if the soil feels cool but workable (not freezing or soggy), it’s likely ready.
This usually aligns with late October to early November, but your local microclimate can shift this window by weeks.
⚠️ callout warning ⚠️
Planting garlic too late—within 2-3 weeks of frost—can stunt bulb development. If your soil stays above 50°F for too long after planting, cloves may sprout prematurely, leading to small, weak bulbs. Use a soil thermometer to monitor temperatures and adjust your planting date if needed.
🌡️ Pro Tip: Aim for a 4-6 week window before the first hard frost. In Zone 4, this is typically October 15–November 15, but verify with your local USDA frost map.
Moisture is another critical sign. Garlic cloves need consistently moist soil to root properly, but they’ll rot if planted in waterlogged conditions. Before planting, ensure your soil drains well—test this by digging a small hole and filling it with water.
If it drains within 2-4 hours, your soil is ready.
Pay attention to weather forecasts too. A stretch of warm days followed by freezing nights is ideal for garlic. This temperature swing helps roots establish while preventing early growth. If your area experiences an unseasonably warm fall, consider delaying planting until temperatures drop closer to the 40°F–50°F range.
Finally, observe your garden’s natural rhythms. If neighboring fall crops like kale or spinach are thriving without bolting, your soil is likely in the perfect zone for garlic. Conversely, if perennials like asparagus are already dormant, it may be too late to plant.
Adjust for early or late seasons by using row covers or mulch. If planting early, add a light mulch layer to insulate cloves from freeze-thaw cycles. For late plantings, use black plastic mulch to warm the soil slightly and extend the growing window.